*Project: Sleepy Guard: Bittle X sleeps soundly until it senses motion. Then it sits up and barks.
Video Tutorial with Petoi Coding Blocks to Illustrate the Workflow Tutorial
Thinking About the Task
- In this lesson, we will have Bittle X sense if someone is walking by. If Bittle X detects someone, Bittle X will light up the LED and make an alarm sound.
Initial Setup
Set up the PIR Sensor to connect to the board.
Let’s Code!
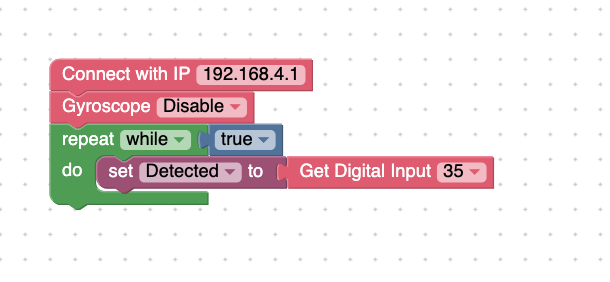
First, create a variable called Detected . Put it in a forever loop and also create a block to set the Digital read to the new variable.
Note: For your code, choose the correct board type. For Bittle X, you can check which BiBoard version you have by following the Bittle X guides.
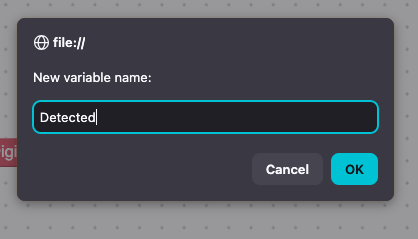
Create a new variable called Detected :
Code Block: Digital Read
Digital Read: What does this block do?
This code block gets information from the sensor! We can use this information for our project as a trigger for action.
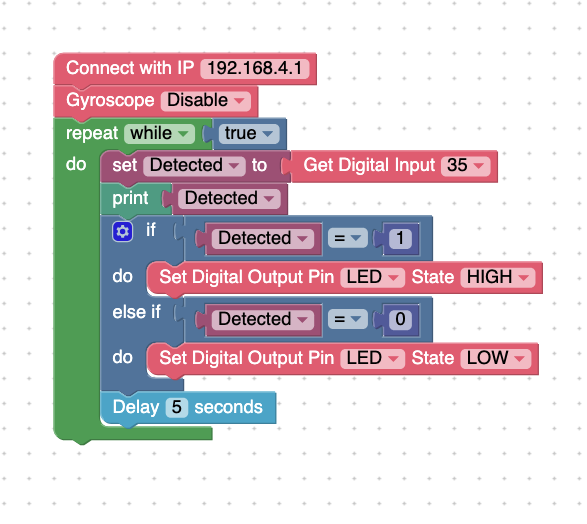
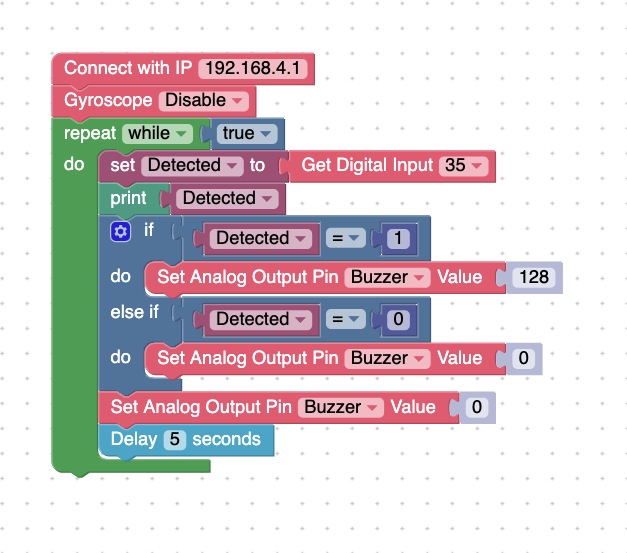
The print Detected will print the sensor data, which we can see in real time.
It is in the forever loop, so the value is printed in the Terminal repeatedly. This is helpful so we can troubleshoot and understand what is being seen by the sensor!
This PIR (Distance) sensor will either give us a 0 or a 1.
When the value is 1, it means that something is in front of the sensor. In our if then statement, the code checks if the sensor is 1 or not. If it is 1, then we turn on the LEDs.
Make Bittle X Make a Sound
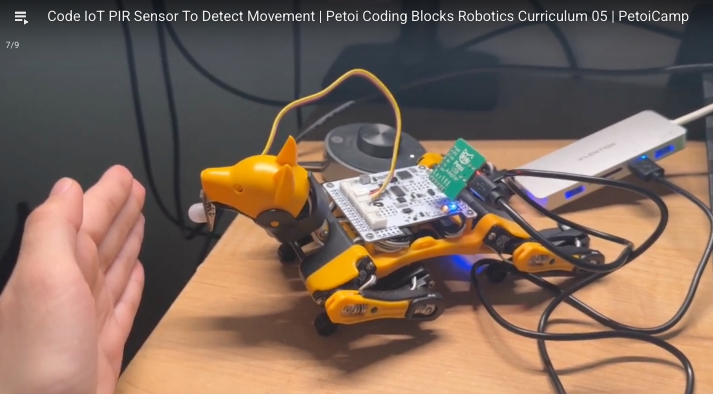
To make Bittle X make a sound instead of the LED turning on, follow this code:
Project Takeaways
- Bittle X can use the Distance (PIR) sensor and detect if there is an object (read as
1) or no object (read as0).
- We can store that data in a variable and then check if Bittle X detects an object for our program.
You-Try:
- Sleepy Guard: Make Bittle X detect an object, and do an action if an object is detected.